
{This post originally appeared in October 2011 but was lost when moving my blog to WordPress. It is still in its original form, but this is no longer my current craft room since we moved to Oregon.}
I have been wanting an Expedit shelving/desk system for quite some time. Especially after moving to our home in Seattle, where I now have a large craft room (or “office,” according to my hubby, who shares it with me) with 2 big windows that provide ample lighting. I have a big wall on my side of the room and the space wasn’t being used effectively with my old desk.
My parents visited last week, and when my mom saw my craft room…erm, office…she agreed that it had such potential. She knows that I craft a lot and also work on freelance projects from home, so a new system with more desk space and storage was really a necessity (first-world problems, right?!).
My parents were SO extremely generous and offered to buy my DREAM Expedit setup for my birthday!
My mom helped me plan the space. We took measurements. We went to Ikea, just she and I, and somehow got all those ginormous boxes on the cart all by ourselves. We brought home my new ensemble, and my sweet hubby put it ALL together for me!
Are you ready?
Ok….My amazing Expedit shelving and desk masterpiece…
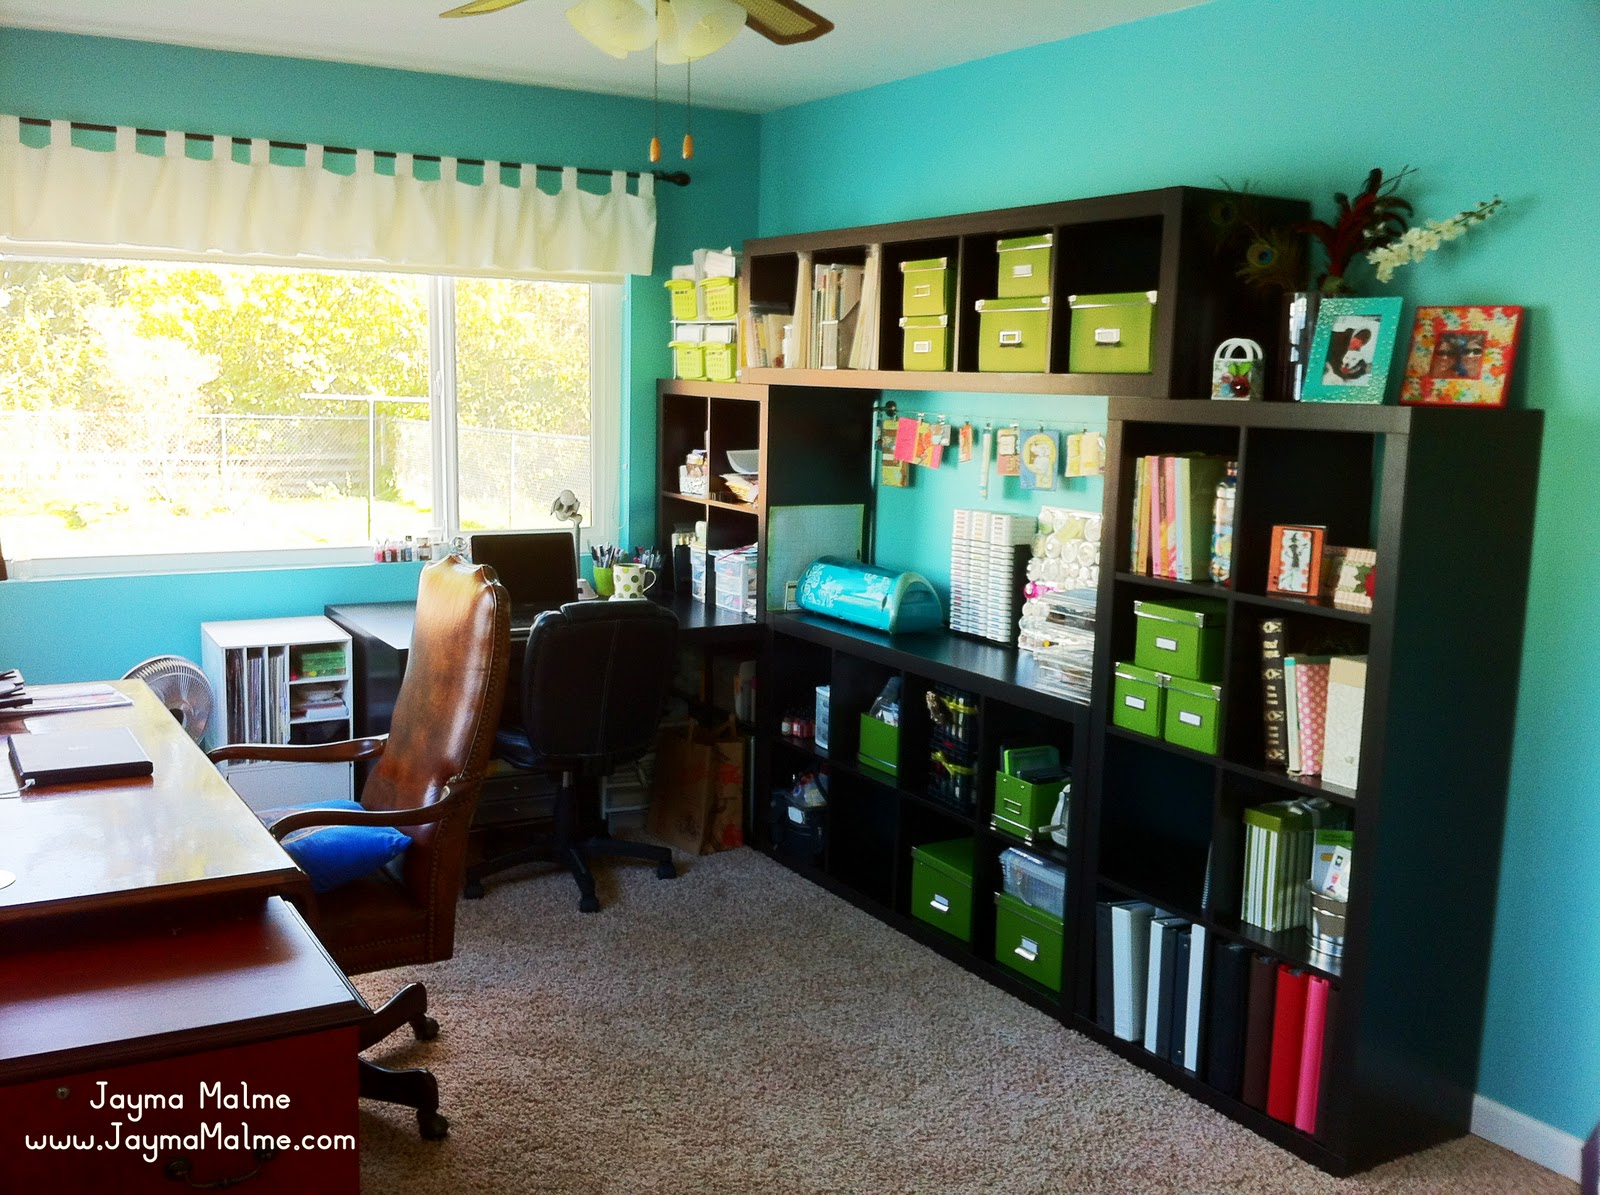
This setup includes 3 Expedit bookcases (4×2 cubes), 1 Expedit Shelving Unit (5×1 cubes), and 1 Expedit desk. Looks kinda like an entertainment center 😉 Well, this is MY entertainment center!
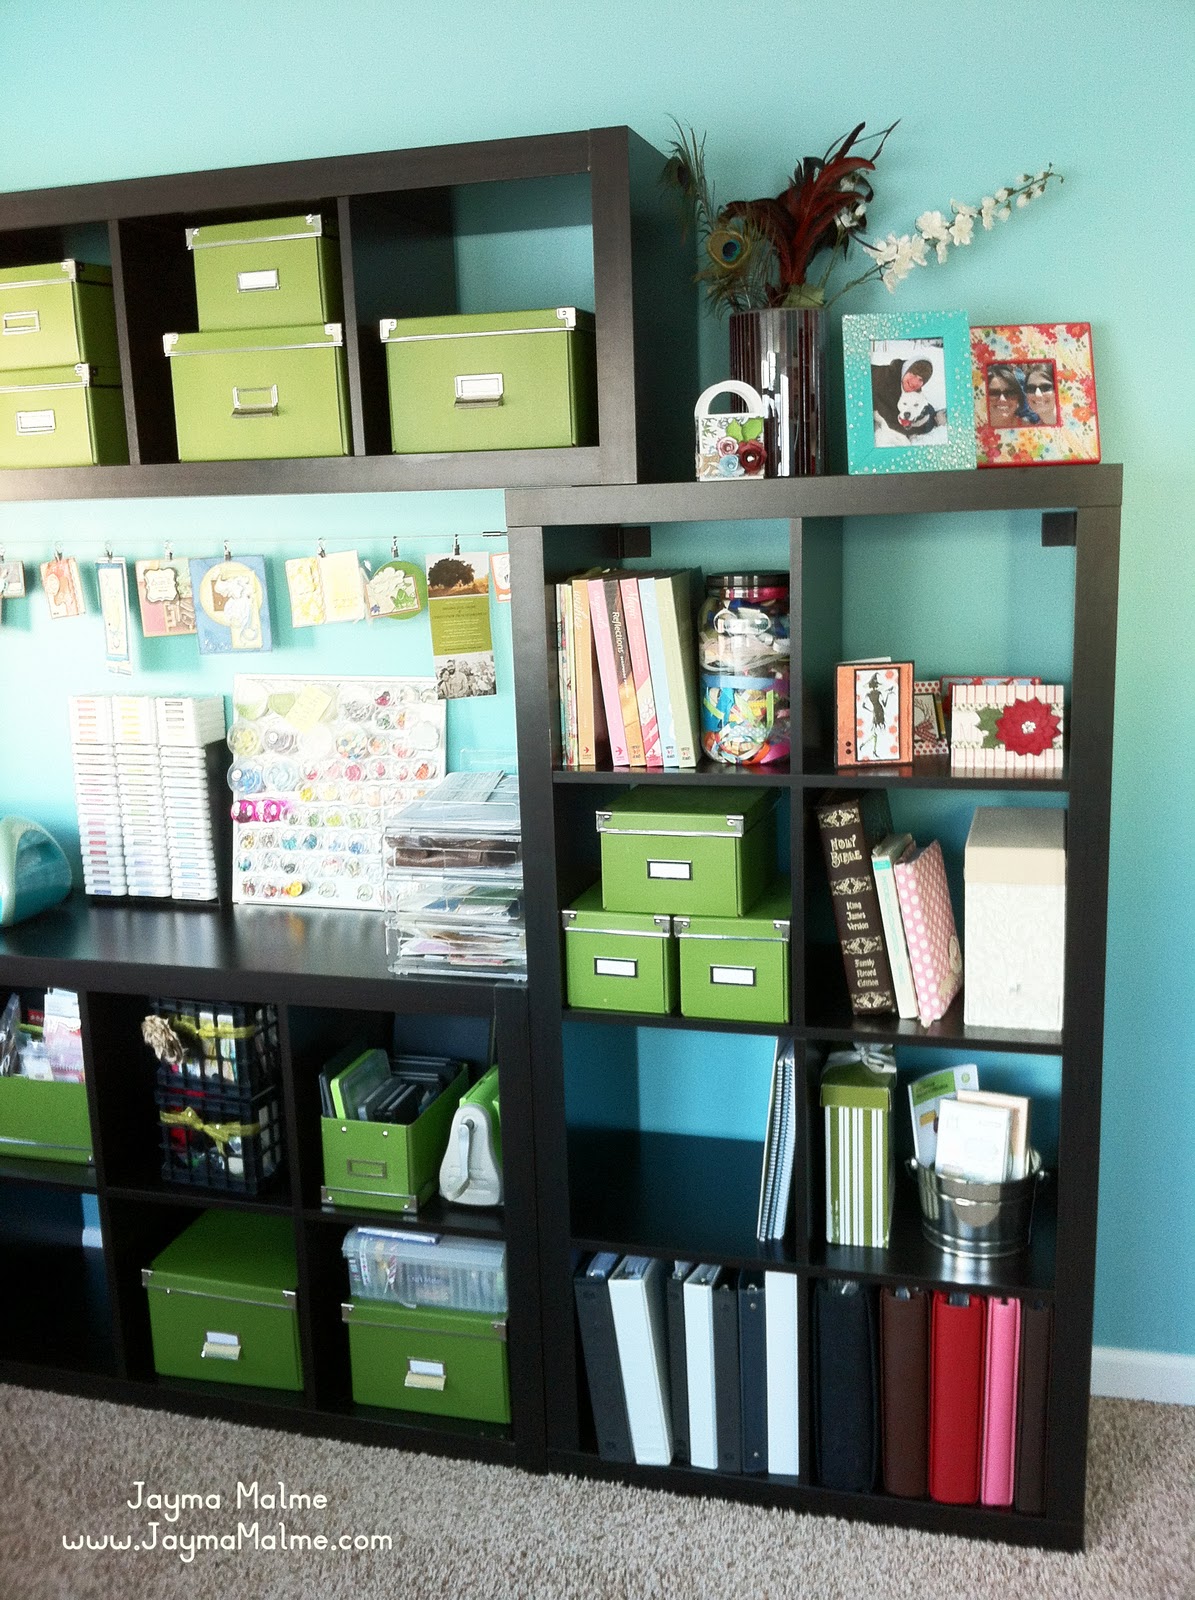
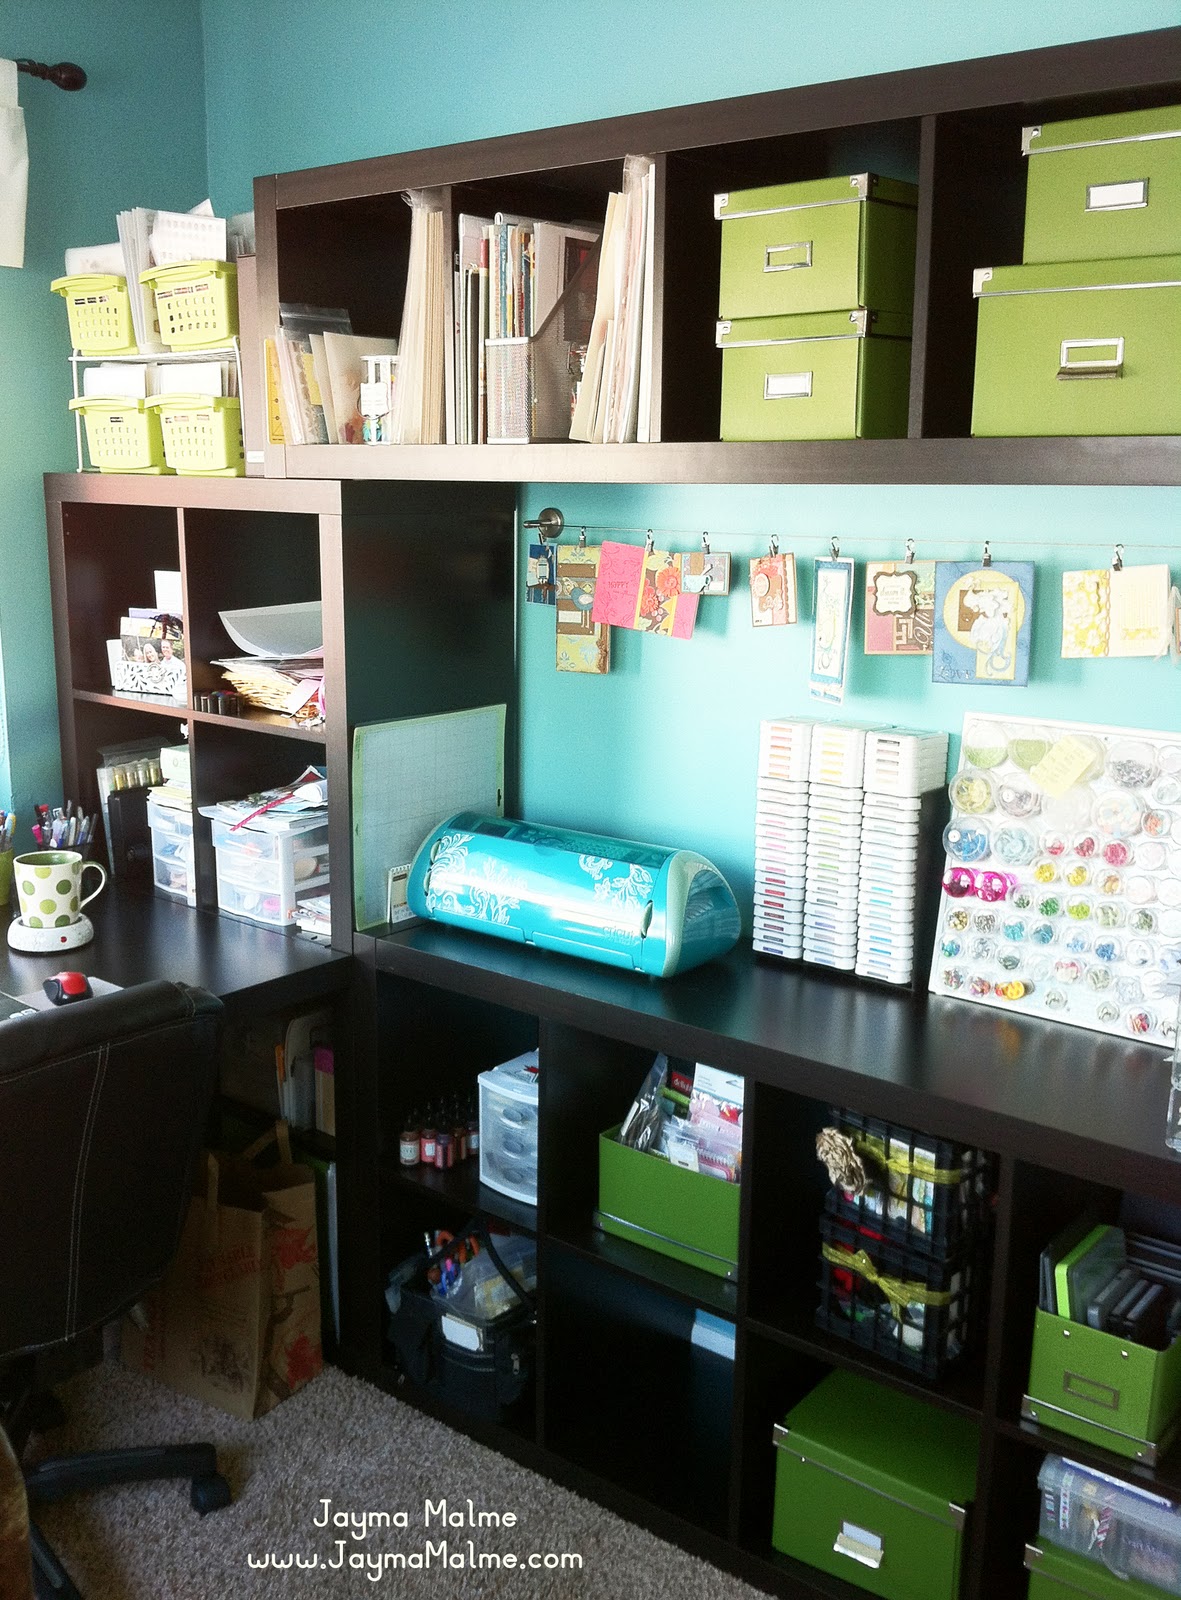
I already had all the cute green boxes, also from Ikea. They look so neat and tidy in their little cubbies. Do you see the curtain wire I hung my cards from? Awe.Some. I used to have my cards displayed on the window sill, but it looked cluttered. This adds a fun artistic element to the room.
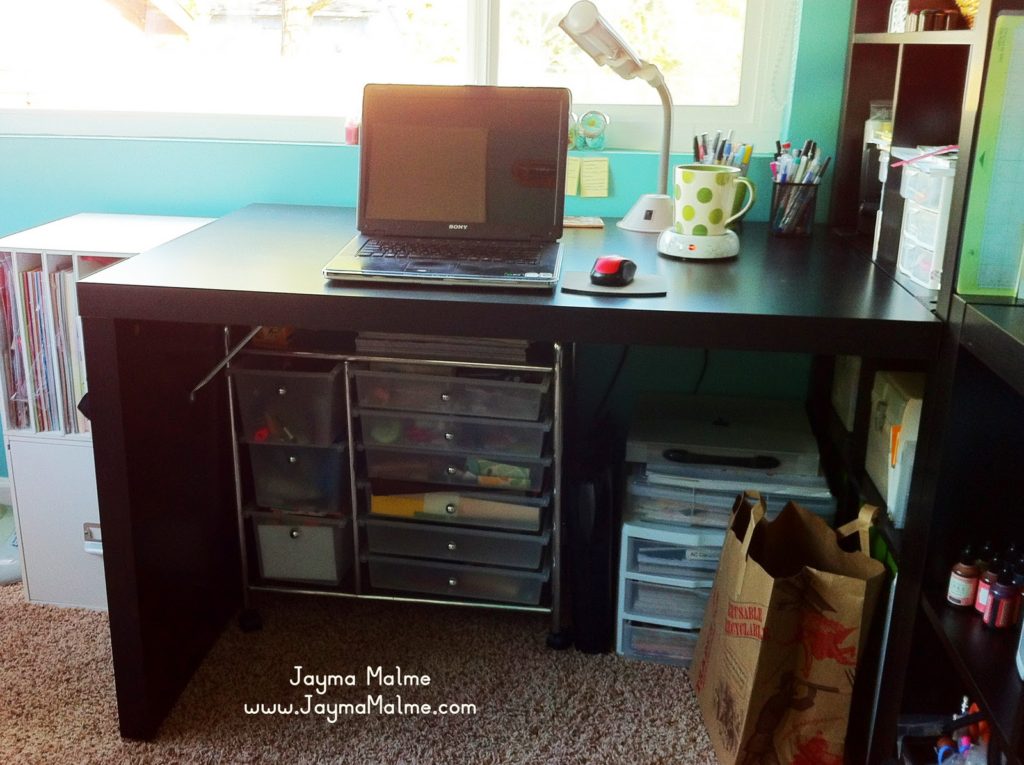
I love having my Cricut right next to me while I’m sitting at my desk. Notice it matches my walls? I painted our entire house before we moved in this past August, and fell in love with this paint color…it’s Martha Stewart Lagoon. And I got my Expression just last month, so I chose the pretty aqua one to match my new walls 🙂
Since this desk is quite deep, I had room under the desk to put a scrapbooking cart and some plastic drawers that I already had. There’s still PLENTY of room for my feet, and when I scoot my chair in you can hardly see that it’s cluttered under there.
I also added a Jetmax storage filing cube next to my desk. I already had the Jetmax cube on top of it, but love the file drawer addition to hold all of my CTMH paper packs. (I can’t believe they all fit in there…albeit squished!) My dad put the cube together for me and used some wood glue to make it extra sturdy.
I hope you enjoyed my new craft space. If you have any questions or want to see anything closer, just let me know!
Thanks for visiting!
Let’s Hang Out!
“Like” Playing with Paper on Facebook
Linking up to Your Whims Wednesday.
This page may contain affiliate links. By clicking on those links and making a purchase, you are helping to support my small business at no additional cost to you. Thank you for your support!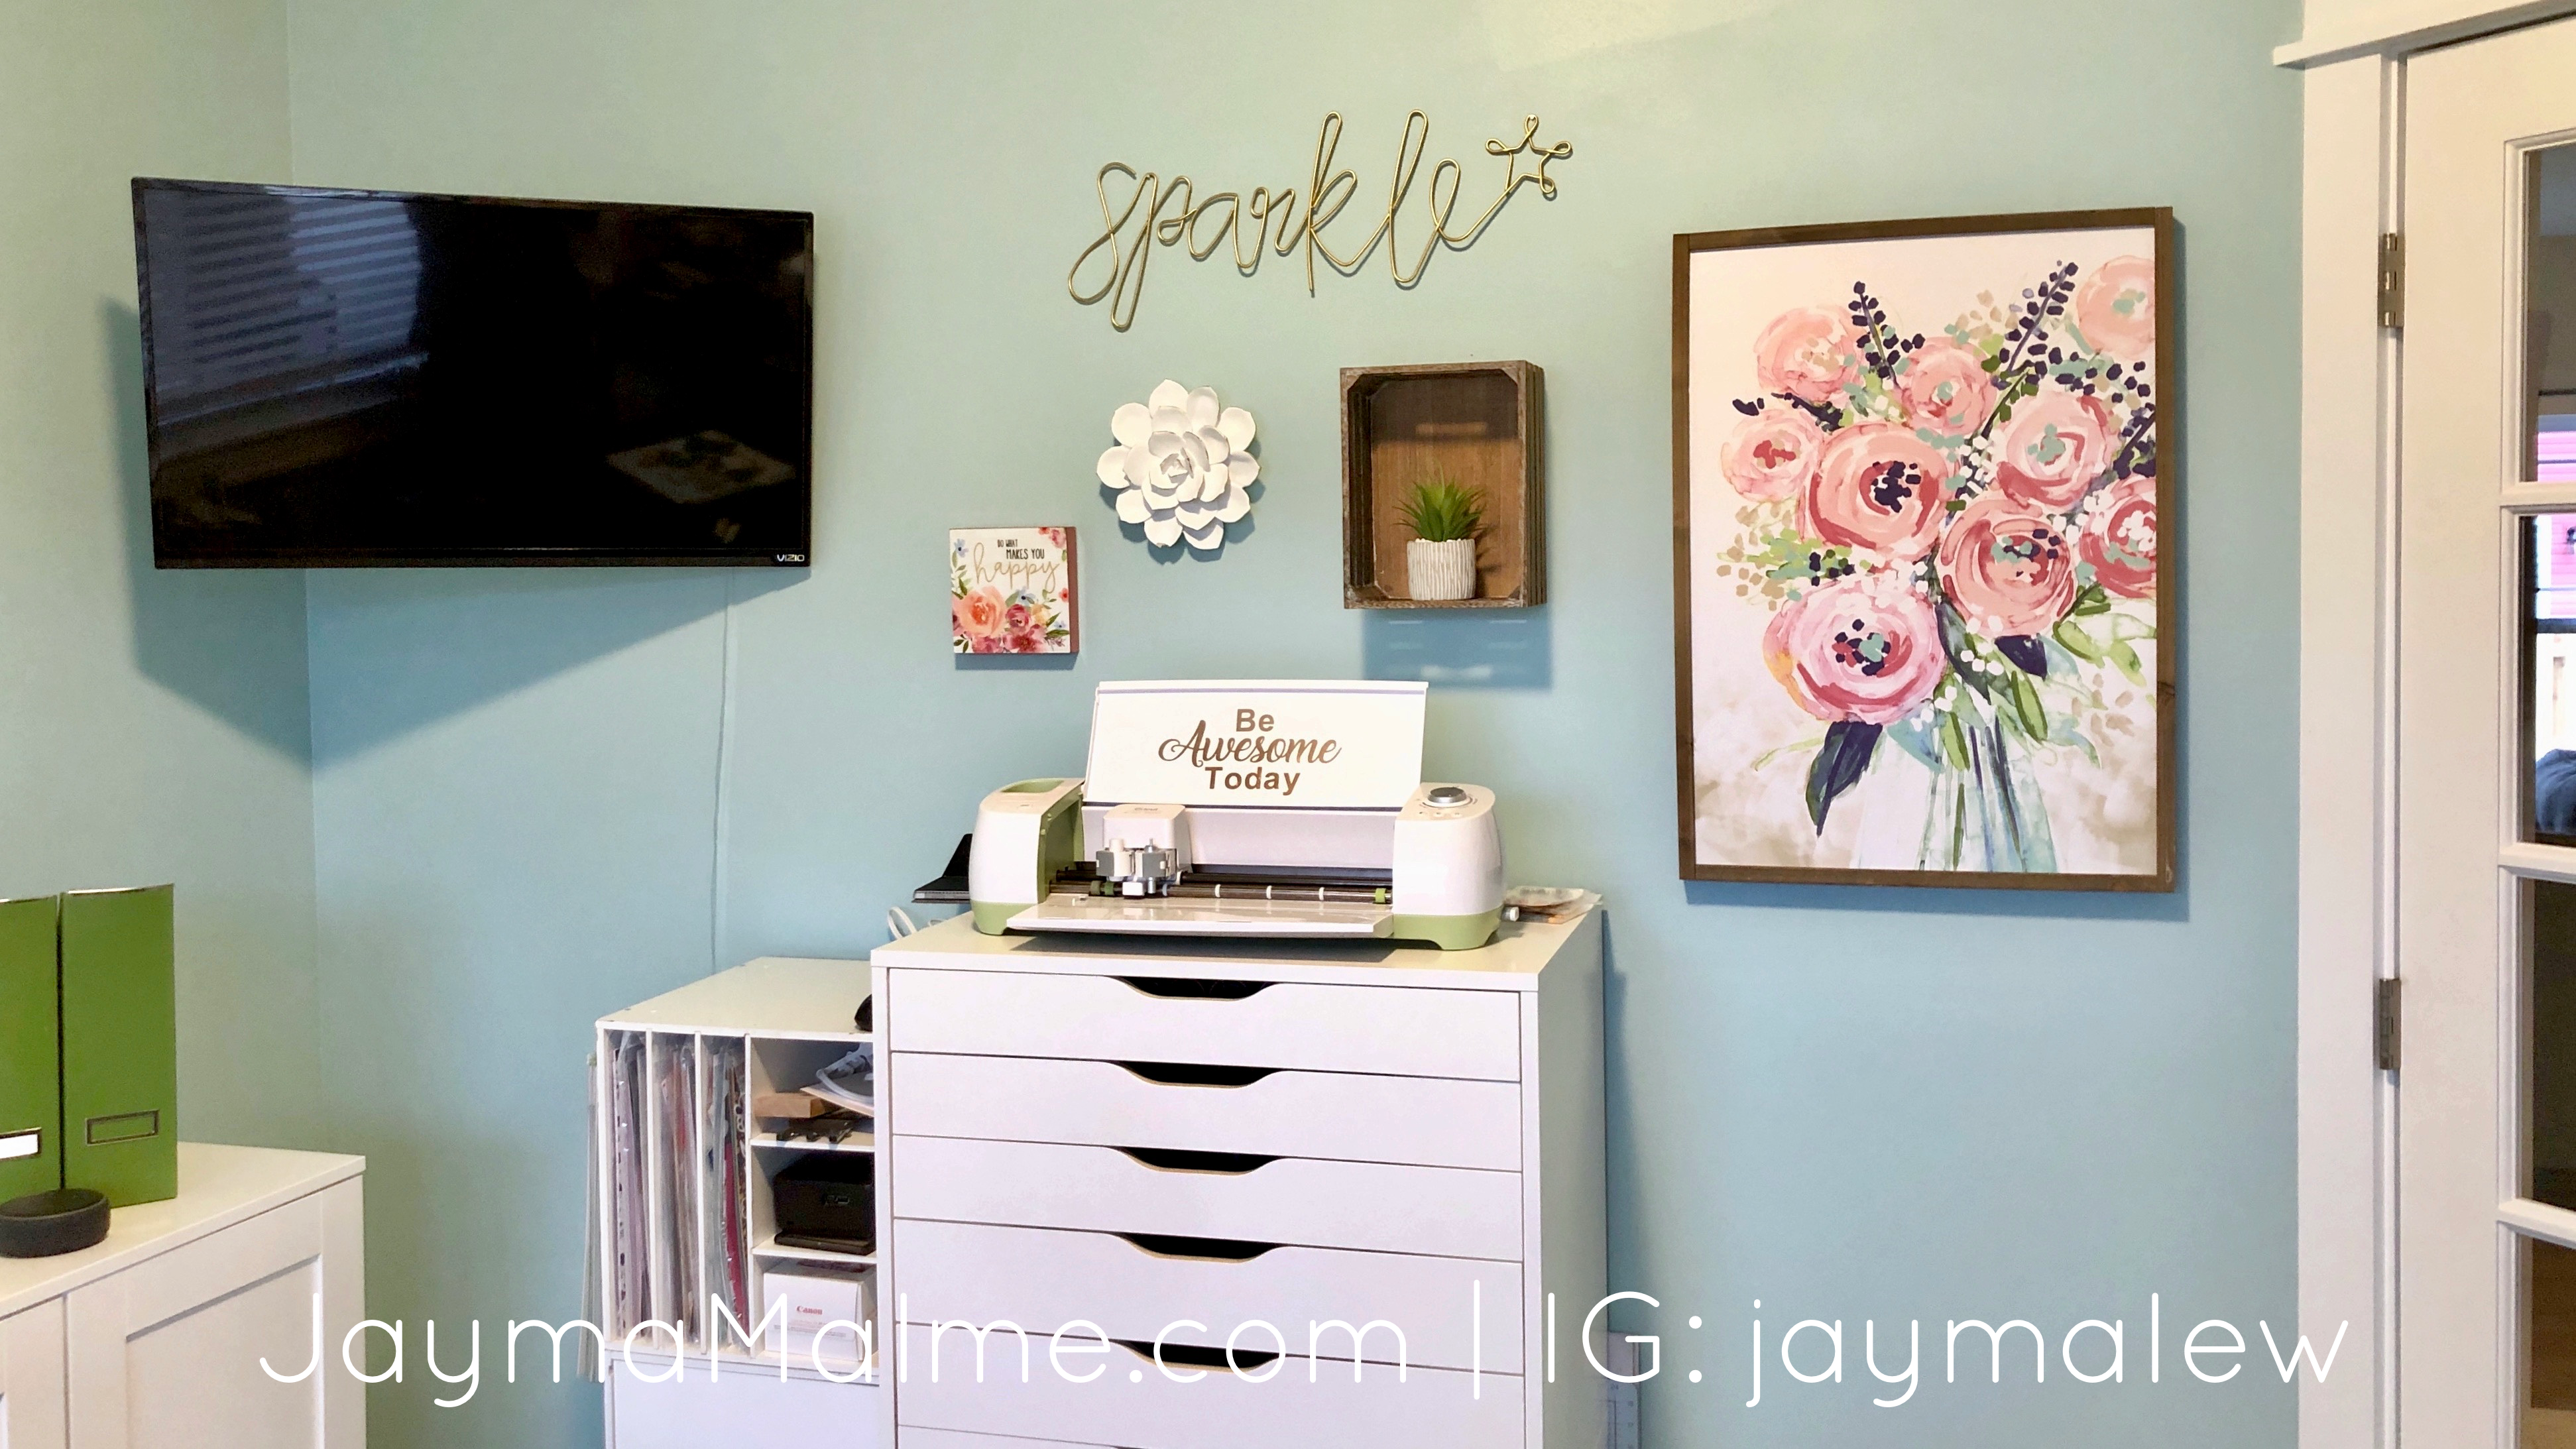
4 Comments
Awesome looking Craft room……….know how much it means to have everything so well organized and easy to access…………Just SUPER!!! Thanks for sharing all the details!
Thanks so much! I loved this setup! It isn’t my current setup anymore but I still have all of the same pieces – just arranged differently in a smaller room. I’ll have to do an updated craft room tour 🙂
I so love this! Where are your stamps stored?
Thanks, Melissa! They were in the green bins that are on the shelf near the upper right side of the window. You may have to zoom in on the photo. I don’t store them like this anymore, though. I need to do an updated craft room tour at my current house!